lucky bandit | RVA based lifestyle blog: beauty DIY
Showing posts with label beauty DIY. Show all posts

Wednesday, March 28, 2018

depotting & decluttering

I recently decided to try to broaden my horizons and start using eyeshadow that isn't brown, taupe, or gold. I know, how daring. I just get stuck in a rut because I believe that's what looks best on my eyes. (shrug) However, as I was testing some other shadows that I've had for absolute years, I realized that a lot of them were past their prime or just flat out weren't good shadows. I recently purchased Tarte's Tarteist PRO Custom Magnetic Palette* (I couldn't resist that leopard print) and I was excited to try it out, so I got to depotting!
Here's the pile of eyeshadows that I depotted and decluttered. Depotting is the act of removing the shadow in it's metal tray from the clunky plastic packaging. If your shadow has a plastic tray, you can get little adhesive pieces of metal that stick to the backs so they'll stay put in your palette. Here's a good tutorial on depotting if you're new. This was my first time! If the shadow was crap or I couldn't get it out, to the recycling it went.
How nice is that leopard print??? I love it. And here are the shadows in their new home. I broke a few and threw out a lot, but these are the ones that made the cut. The three at the top are on top of a bit of scrap brown paper bag because their glue was super tacky and I didn't want it damaging the palette.

I didn't label any of these because none of them are cruelty free, so I won't be repurchasing. I just didn't want to waste what could be used.

I have SO much more room in my makeup organizers now! Sadly I can't replenish them because we're saving money right now, but soon enough! I'll be using these and my other shadows up in the meantime.


Follow

Friday, September 09, 2016

DIY three ingredient scalp scrub

lucky bandit blog katelyn carter

We all know we're supposed to exfoliate to encourage blood flow and to remove dead skin cells and product buildup. I exfoliate a couple times a week, especially my face. What's one thing I always forget needs exfoliating, too? My scalp! Here's an easy DIY scalp scrub that only has three ingredients!

lucky bandit blog katelyn carter

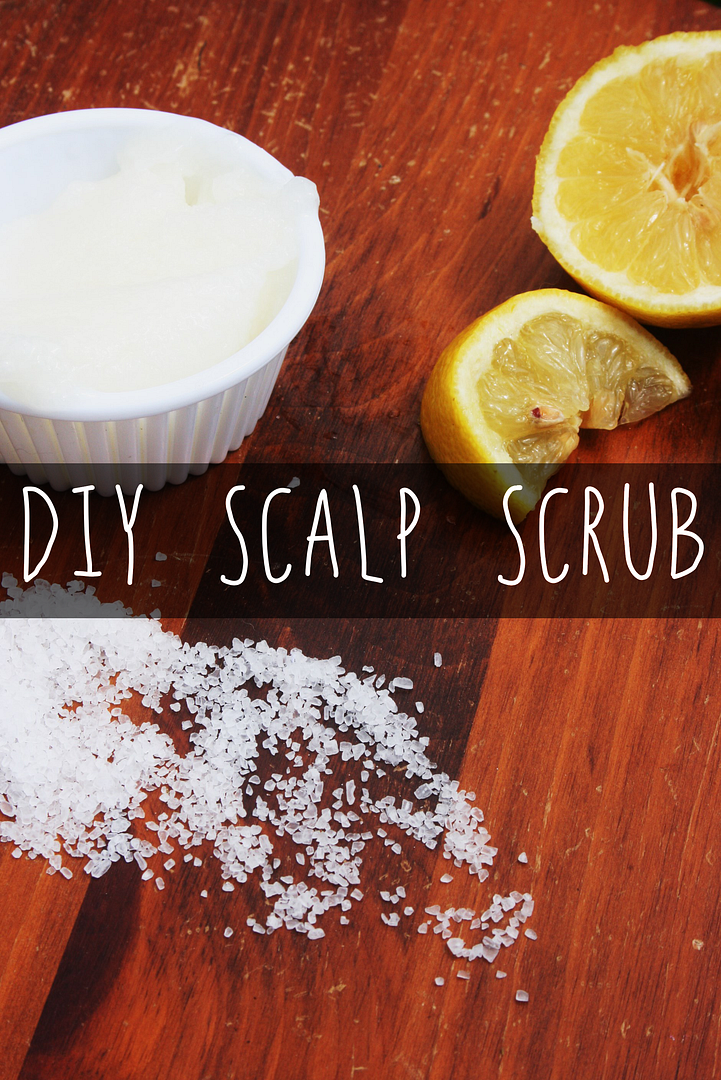
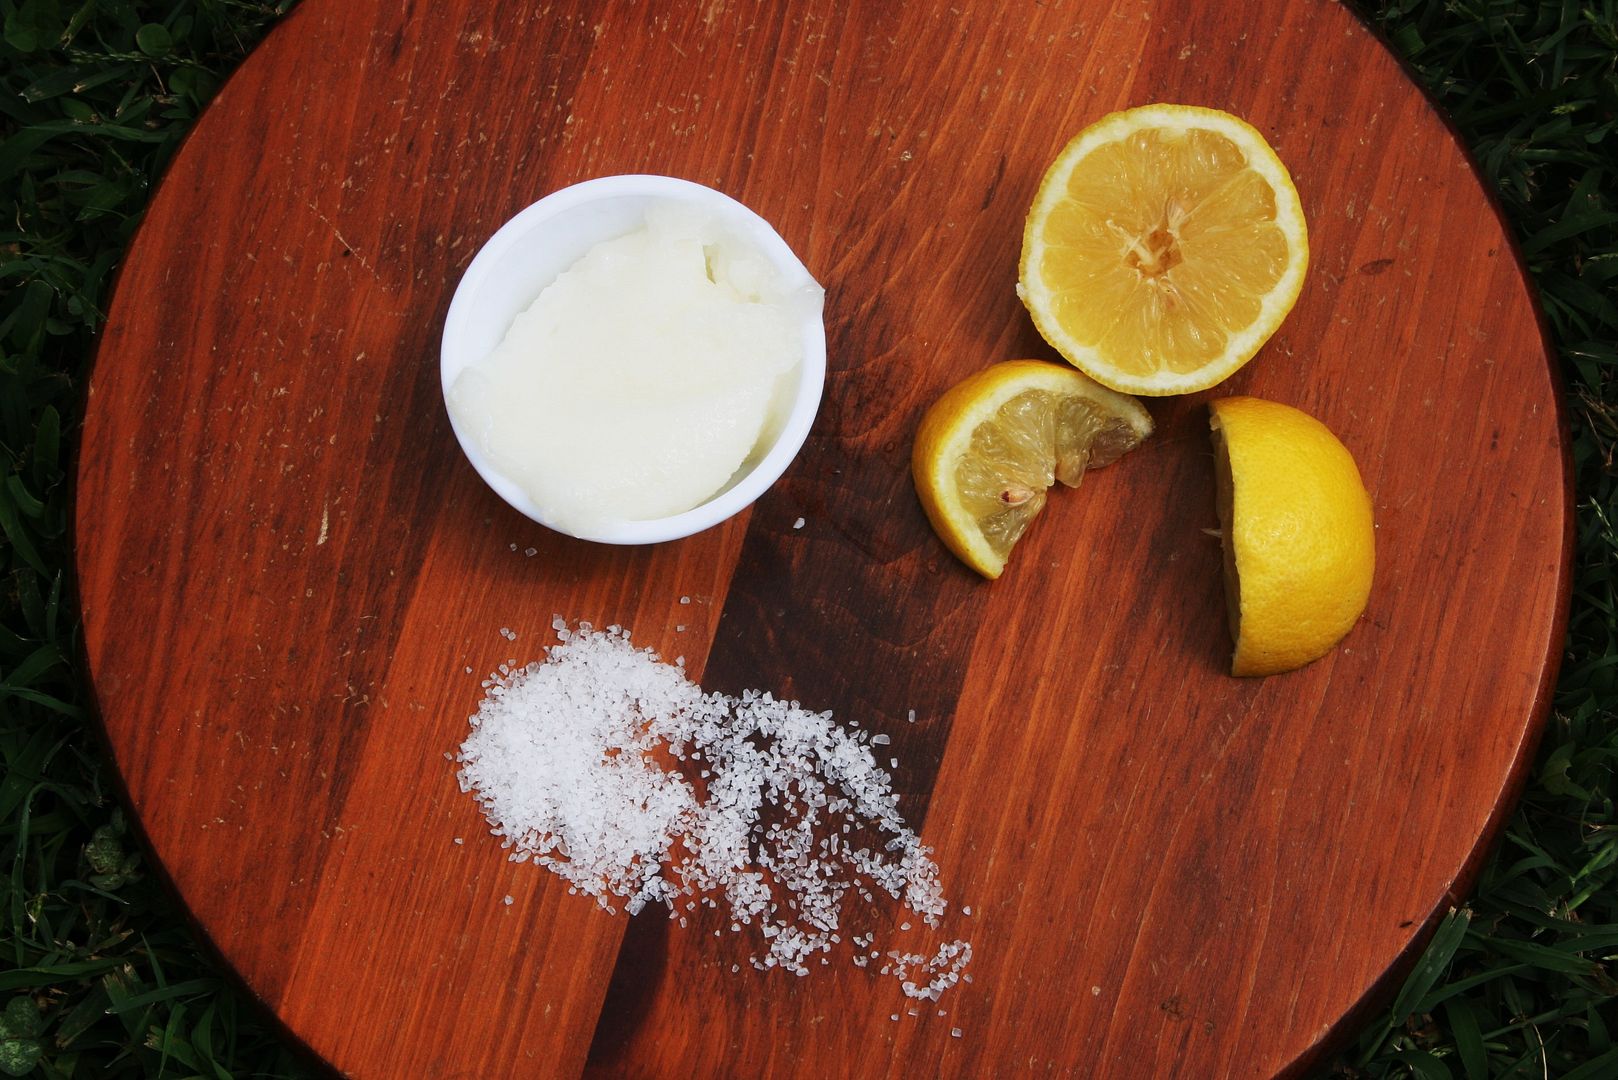
You'll only need three things: coconut oil, coarse salt, and a lemon. Easy peasy.

I mixed about a half cup of coconut oil, 3-4 tablespoons of coarse salt, and the juice of one lemon together in a bowl with a lid. I crushed the salt a bit beforehand to make it easier to manage. Once it's all mixed together, here's a tip: I'd advise to do this in the shower or outside. It gets messy, especially if you have long hair. There was salt all over the place!

Dampen your hair, and just rub it into your scalp as you would a body scrub on your skin. Your scalp can be sensitive, so don't be too rough. I massaged it in for a few minutes, let it sit, then rinsed it out. You'll probably feel the coconut oil still in your hair, so if you want to let it moisturize for a while, leave it and shampoo later. Another plus to this scrub? It can be used as a body scrub! If you mix up a big batch you can do all of your exfoliating in one go.

The recipe can easily be altered to fit your needs. Swap out salt for sugar, or add tea tree oil, essential oils, or swap out coconut oil for something else. Just don't eat it!


Follow
^